


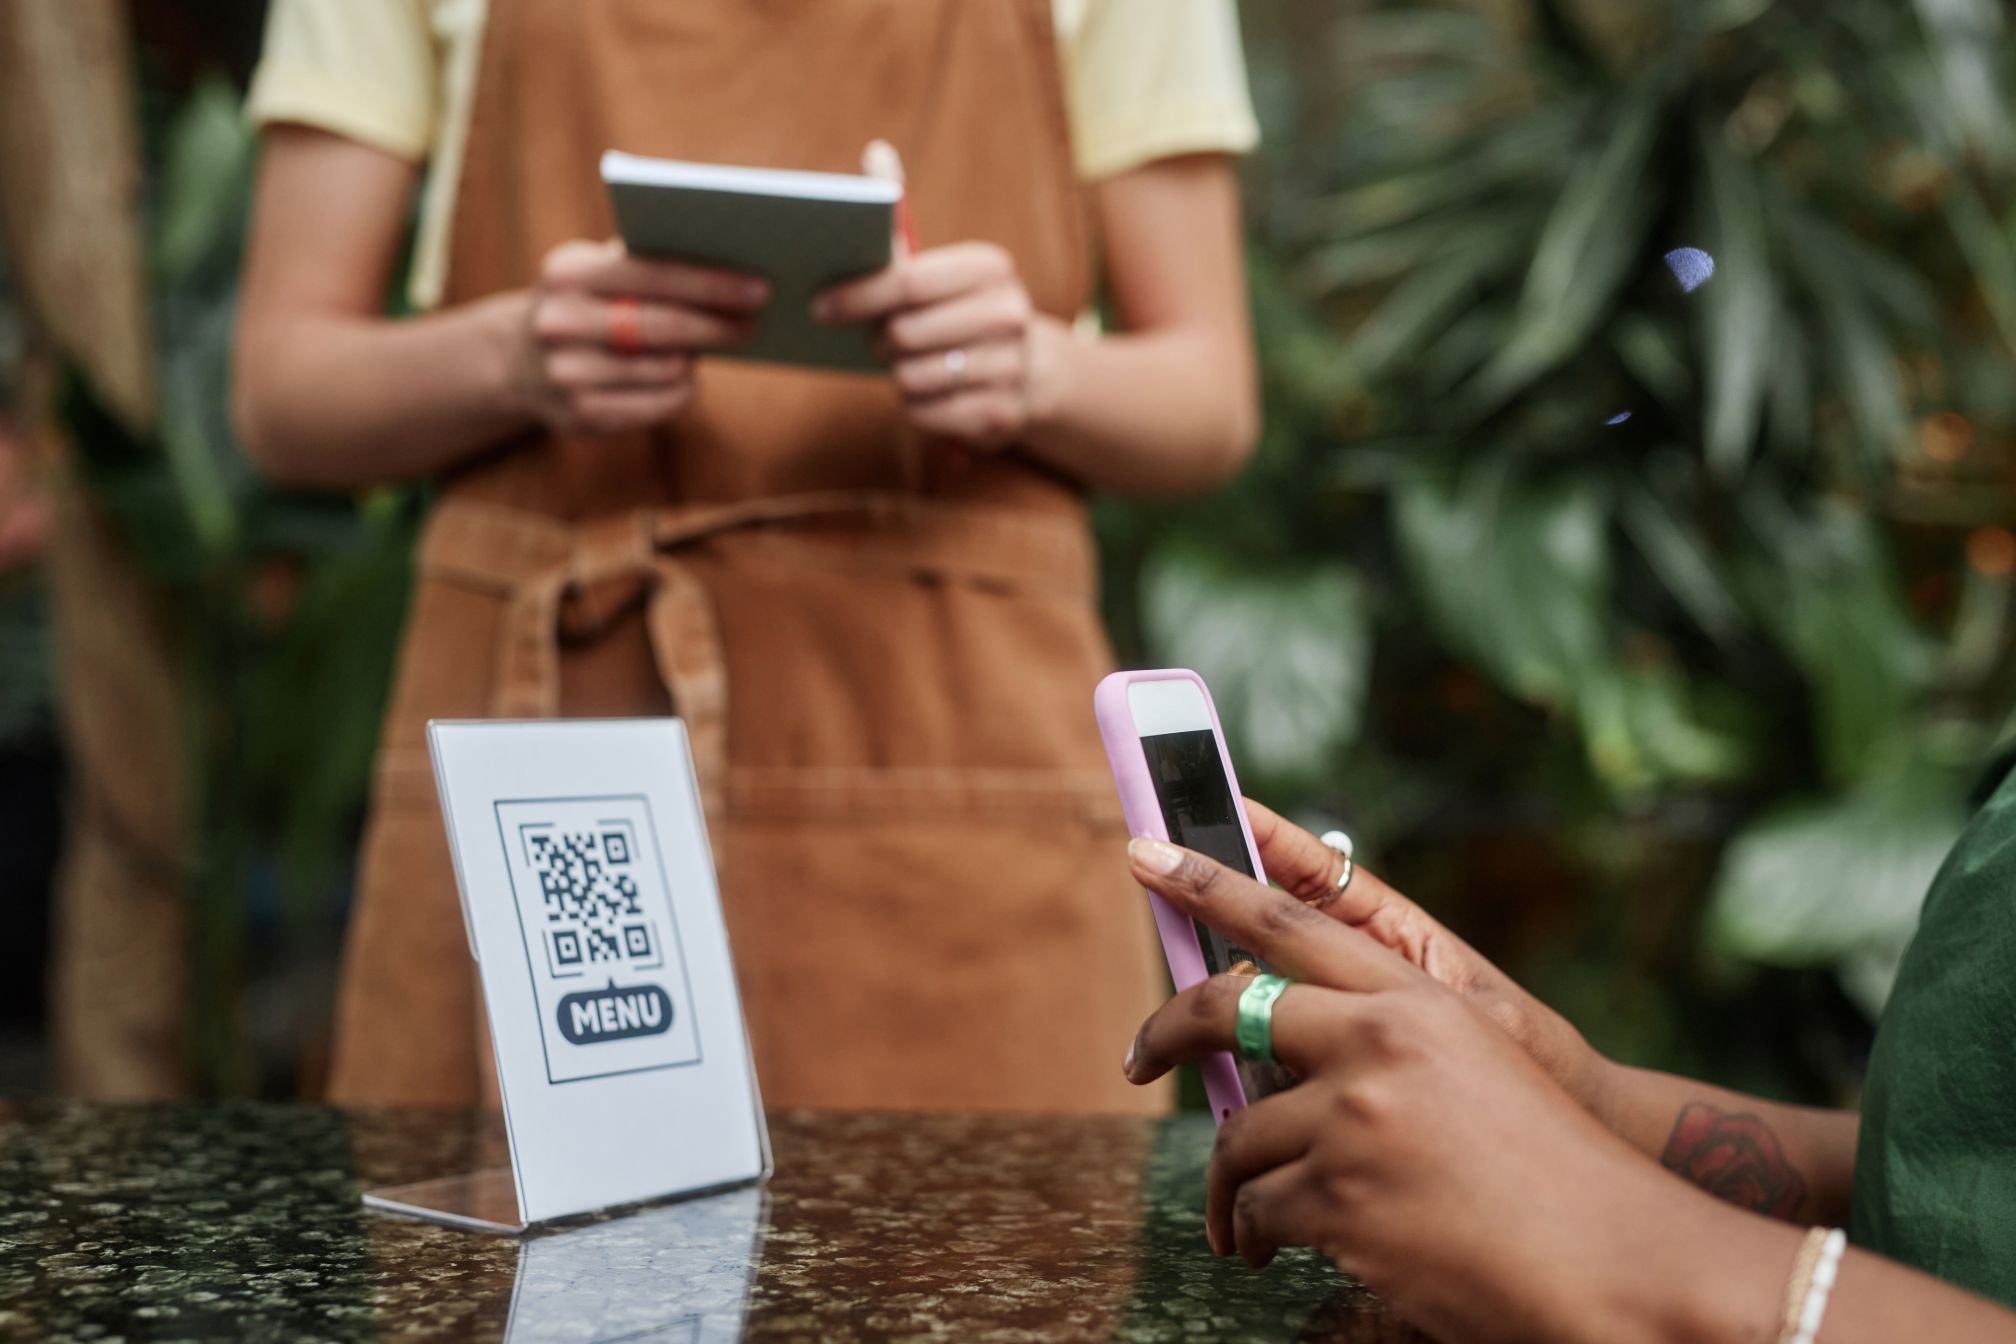
A PDF on a phone is better than nothing. But guests pinch, zoom and scroll sideways, the text is tiny, and every price change means a new file. A real digital menu is different: it is built for the phone screen, it opens in a second, it can switch language with one tap, and you can change a price or mark a dish as sold out from your own phone while service is running.
This guide walks you through building exactly that with QR Dining, step by step, from an empty account to a QR code on every table. Most restaurants finish the basics in an afternoon.
What you will end up with
- A mobile menu at your own link, such as
qrdining.com/menu/your-code, that works on any smartphone with no app to install. - Your logo, your colours and your font, so it feels like your restaurant, not a template.
- Sections that open and close (Starters, Mains, Desserts, Drinks), with photos, prices, sizes, allergens and ingredients for each dish.
- Up to seven languages: English, Romanian, Spanish, German, French, Italian and Greek.
- A QR code for your tables, plus a link you can share on Instagram, Facebook, Google and your website.
- Simple statistics showing how many people opened your menu and what they looked at.
Before you start: gather your menu
The building is quick. Hunting for information halfway through is what slows people down. Have these ready:
- Your current menu — a printed copy, a Word file or a PDF is fine. You will copy dish names and prices from it.
- Prices and portion sizes — for example 250 g, 330 ml or 1 serving.
- Allergens and ingredients for each dish. Many countries require allergen information, and guests increasingly expect it.
- Your logo — a square or round version works best.
- Photos of your best dishes — even five or six good ones make a big difference (tips below).
- Translations, if you serve tourists. Have them checked by a native speaker if you can.
Step 1: Get your account and log in
- Go to qrdining.com, click Get Started and leave your details.
- We set up your restaurant account and switch on the languages you need.
- Log in with the details we send you.
After logging in you land on your dashboard. Everything in this guide starts from one of its buttons: Sections, Items, Analytics, Details, Themes, QR Code, View Menu and Embed / link menu. The admin works on a phone or tablet as well as a computer, so you can make changes from the bar.
Step 2: Add your sections
Sections are the big chapters of your menu — the headings guests tap to open. Think about how people order, not how the kitchen is organised. A typical restaurant might use:
- Breakfast · Starters · Soups · Mains · Pizza · Desserts
- Soft Drinks · Coffee & Tea · Beer · Wine · Cocktails
Open Sections and add one. For each section you can fill in, in every language you use:
- Name — keep it short, one or two words.
- Description — optional, for example “Served from 12:00 to 16:00”.
- Allergens — a note that guests can expand, useful for general statements like “All our pizzas contain gluten”.
- Footer text — shown at the bottom of the section.
- Nutritional information PDF — if you have a detailed nutrition sheet, upload it here and guests get a link to it.
Use the language buttons at the top of the form to switch between languages. You can also mark one section as the default, which is the one that opens first — handy if most guests come for coffee or for lunch.
When your sections are in, drag them into order on the Sections page. Put your best sellers near the top: guests rarely scroll to the bottom of a long list.
Step 3: Add your dishes and drinks
Now open Items. This is where most of your time goes, so it is worth getting into a rhythm. Each item has these fields:
| Field | What to enter |
|---|---|
| Available | Leave on Available. Switch to Currently unavailable when you run out. |
| Section | Where the item appears, for example Mains. |
| Size & units | 250 + g, 330 + ml, 1 + serving, or hide the units. |
| Price | Just the number, for example 12.50. |
| Calories | Optional, per portion or per 100 g / 100 ml. |
| Alcohol % | For beers, wines and spirits. |
| Name & description | In each language, using the language buttons. |
| Allergens & ingredients | In each language. Guests see them when they open the dish. |
Write descriptions that sell
A name like “Chicken salad” tells guests very little. One short line does a lot more: “Grilled chicken, crispy bacon, parmesan and our house Caesar dressing.” Mention the main ingredients, how it is cooked, and anything special — local, homemade, spicy, vegan. Keep it to one or two lines; it is a phone screen, not a novel.
Use titles to split long sections
A Drinks section with 60 items is hard to read. On the Items page you can add a Title as well as an Item. A title is a small heading inside a section — for example Red wines, White wines and Rosé inside Wine, or Classic and Signature inside Cocktails. When you add a new item, choose which title it should sit under. You can also move items around and use the search box to find any dish in seconds.
Step 4: Add photos of your dishes
Photos are the single biggest upgrade over a paper or PDF menu. A good photo of a dessert sells desserts. Once an item is saved, open it again and click Upload new image. Photos are resized automatically, so you can upload straight from your phone. Guests can tap a photo on the menu to see it larger.
You don’t need a professional photographer to get good results:
- Use daylight. Shoot next to a window, never under yellow restaurant lights or with the flash.
- Shoot from above or at 45°. Flat dishes like pizza look best from above; burgers and drinks from the side.
- Keep the background simple. A clean table or a plain board. Move the salt, phone and receipts out of the shot.
- Be consistent. Same table, same angle, same light for every dish makes the whole menu look professional.
- Start with your best sellers and your most profitable dishes. You don’t need a photo of every soft drink.
Step 5: Add your restaurant details
Open the Details page. This is what turns a list of dishes into your restaurant’s page:
- Logo — click Upload new image. It appears at the top of your menu.
- Name — your restaurant name as guests know it.
- Instagram, Facebook and website — guests who enjoy their meal can follow you straight from the menu.
- Phone and public email — for bookings and takeaway orders.
- Global footer text — in each language. Good for opening hours, Wi-Fi details, a service charge note or a line like “Please tell your server about any allergies”.
For many small cafes and bars, this page means the menu doubles as a simple website: what you serve, how to contact you and where to follow you, all in one link.
Step 6: Make it look like your restaurant
Open Themes and pick a ready-made theme to start from. Then click Customise theme to fine-tune it:
- Font and font size — choose something readable. A slightly larger size helps older guests in dim light.
- Colours — header, background, text, section headings (closed and open) and the alternating colours of the item rows.
Take your colours from your logo, signage or interior. Keep strong contrast between text and background — light grey text on white looks elegant on a big monitor and is unreadable on a phone at a candle-lit table. Save, then check the result on your phone.
Step 7: Check everything on your phone
Click View Menu and go through your menu as a guest would, on your own phone:
- Open every section. Are the dishes in a sensible order?
- Check the prices against your till. A wrong price on the menu leads to awkward conversations.
- Switch to each language and look for missing translations.
- Open a few dishes and check the allergens and photos.
- Ask a member of staff who did not build it to try ordering from it. They will spot things you no longer see.
Found a mistake? While you are logged in, every dish on your live menu shows a small edit icon. Tap it to go straight to that item, fix it and come back. You don’t need to hunt for it in the admin.
Step 8: Get your QR code on the tables
Your subscription includes stickers with your personalised QR code, ready to put on tables. You can also click QR Code on your dashboard at any time to open a high-resolution QR code image for your own prints, flyers or table tents.
Want something more designed — your logo in the middle, rounded dots, your brand colours and a “Scan for menu” frame? Copy your menu link from Embed / link menu and paste it into our free QR code generator. It runs a scan test before you download, so you know the code works before it goes to the printer.
A few placement tips:
- Size: at least 3 × 3 cm on a table. Bigger for windows and posters read from further away.
- Tell people what it is. “Scan for our menu” gets far more scans than a bare code.
- Put it where people sit and wait: tables, the bar, the takeaway counter, the front window and the entrance.
- Test every print with two or three different phones before you stick it everywhere.
- Avoid glossy laminate under strong lights — the glare can stop phones from reading the code.
Step 9: Share your menu everywhere else
Your menu link is not only for the tables. The Embed / link menu button gives you the link and a ready-made embed code. Use them:
- In your Instagram bio and Facebook page “Menu” button.
- On your Google Business Profile, so people searching for you can see the menu before they come.
- On your website — paste the embed code into any page and your menu appears inside it, always up to date.
- In replies to WhatsApp and Messenger questions like “Do you have vegan options?”
Step 10: Keep it up to date (the real advantage)
This is where a digital menu pays for itself. Changes appear on every guest’s phone the moment you save them, and the QR codes never change. No reprinting, no designer, no new PDF.
- Sold out? Set the item to Currently unavailable. It stays on the menu, faded and clearly marked, so guests don’t order it and you can switch it back tomorrow.
- Price rise? Change the number and save. Done.
- Daily special or seasonal dish? Add it in a minute, then mark it unavailable when the season ends.
- New photo? Upload it straight from your phone.
Step 11: Learn from your analytics
Open Analytics to see how many people opened your menu — today, on any day, or over the last 7, 30 or 365 days. You also see which sections and dishes people open most, which languages they read in, and what phones and browsers they use.
Use it to make decisions, not just to look at numbers:
- A dish that gets lots of views but few orders may need a better photo, a clearer description or a different price.
- If many guests read in German or Italian, make sure those translations are perfect — and maybe brief your staff.
- Compare weeks before and after a change, like moving desserts higher up the menu.
Common mistakes to avoid
- Copying the whole paper menu without editing. Long lists of near-identical items are hard to read on a phone. Use titles and trim where you can.
- No allergen information. It protects your guests and protects you.
- Machine translations nobody checked. “Chicken breast in its juice” can come out very strange in another language.
- Dark photos taken during service. One sunny morning of photography is worth it.
- Forgetting to update. A digital menu that shows dishes you no longer serve loses trust quickly. Make updating part of the weekly routine.
Frequently asked questions
Do my guests need to download an app?
No. They point the normal phone camera at the QR code and the menu opens in their browser, on iPhone and Android.
Can I still offer printed menus?
Of course. Many restaurants keep a few printed menus for guests who prefer paper, and use the digital menu for everyone else. Because the digital menu is always up to date, it is also a handy reference for your staff.
How long does it take to set up?
A cafe with 30 items can be live in an hour or two. A large restaurant with drinks lists and several languages usually takes an afternoon, plus time for photos.
Can I change the menu as often as I like?
Yes. Changes, scans and items are unlimited, and the QR code stays the same forever.
What does it cost?
An annual subscription is £89 a year (about £9 a month), with a 30-day money-back guarantee. It includes hosting, unlimited scans, items and changes, help getting started, and QR code stickers for your tables.
Is this better than a PDF menu?
A PDF is a fine free starting point — our PDF menu guide shows you how. A real digital menu is easier to read on a phone, supports several languages, lets you mark dishes as sold out in seconds and tells you what guests look at. Most restaurants start with a PDF and switch once they get tired of re-exporting it.
Ready to build yours?
You now know every step: sections, dishes, photos, details, theme, QR code, sharing and keeping it fresh. The hardest part is simply starting. Gather your menu, set aside an afternoon and your guests will be reading it on their phones by dinner service.